What Does Setting Powder Actually Do?
Every one who wears makeup should learn how to apply setting powder. There’s nothing worse than spending time perfecting your makeup, only to have it slide off your face or settle into fine lines by midday. But not all are created equal, and applying them incorrectly will leave you looking dry, cakey, or overdone.
Setting powders lock in foundation and concealer and give you that smooth, airbrushed finish we all want. Whether you prefer a matte look or a natural glow, the right setting powder makes all the difference. A good setting powder not only keeps makeup in place but also minimizes the appearance of pores and fine lines acting as a barrier against humidity, oil, and everyday wear and tear. But the key is in the application. Let’s dive into how to use setting powder so you can maintain a fresh and flawless all day look without the dreaded cakey finish.
The Biggest Mistake People Make with Setting Powder
As a pro MUA, the most common mistake I see people make is applying too much powder. It’s easy to think more is better, but in reality, less is more when it comes to setting powder. Applying too much will leave your skin looking dry and cakey, emphasizing texture instead of smoothing it out. Instead, lightly tap the powder with your brush, then dust off any excess before applying. And be sure to focus on the areas of your face where your skin gets oily — typically the T-zone (forehead, nose, and chin).
Pressed vs. Loose Setting Powder: Which One Should You Use?
- Pressed Powder: Great for on-the-go touch-ups, pressed powders are compact and convenient. They provide a more controlled application, which is ideal for preventing overuse.
- Loose Powder: These powders are usually more finely milled, providing a more natural finish. They work well for “baking” (a technique where you apply a thick layer of setting powder to set concealer) and for achieving an all-over polished look.
How to Apply Setting Powder Like a Pro
- Prep Your Skin: Start with a good skincare routine. Hydrated, well-moisturized skin will hold makeup much better and prevent powder from clinging to dry patches.
- Use a Damp Sponge: For a natural finish, use a damp makeup sponge to press the setting powder into your skin. This prevents excess powder buildup and helps it melt into your makeup.
- Target Specific Areas: Focus on the areas that get shiny or where your makeup tends to move. The under-eye area, around the nose, and your T-zone are typically the best spots.
- Set and Forget: After applying the powder, give it a few minutes to set. This is especially important if you are baking under the eyes—wait and then lightly dust off the excess.
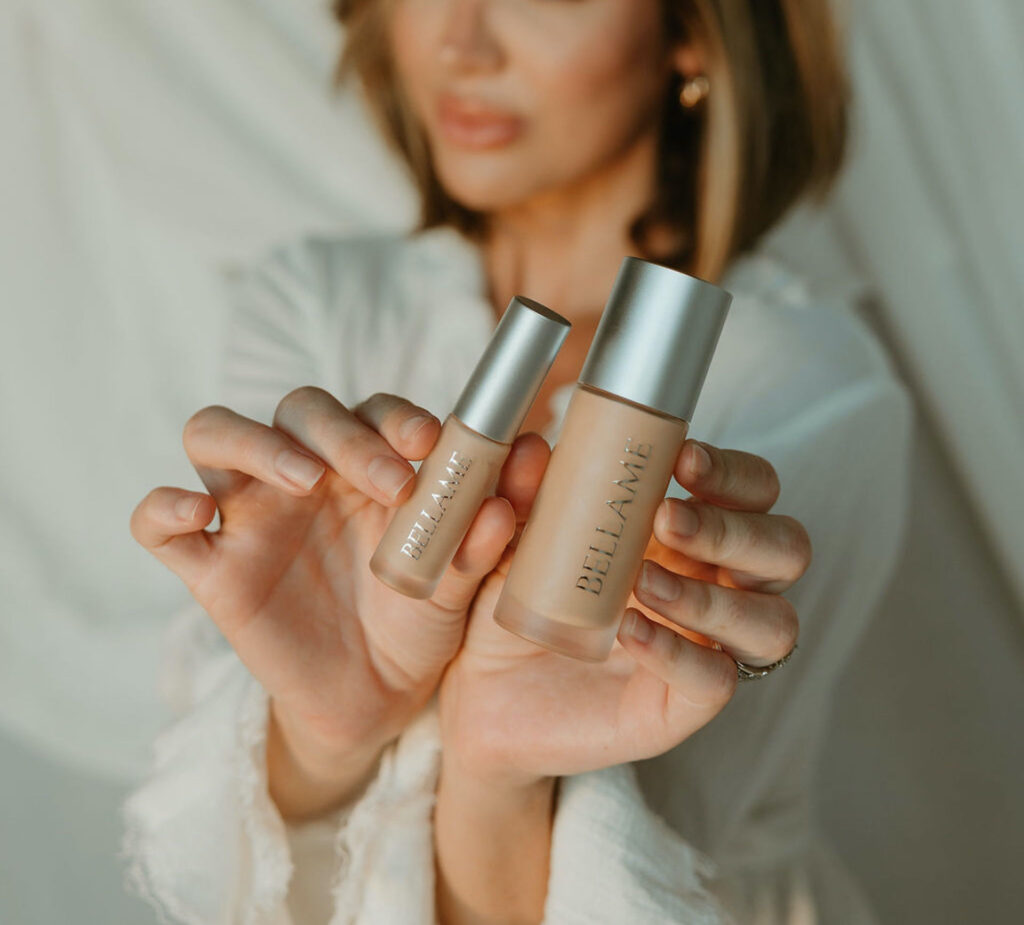
My Go-To Setting Powder: Bellame’s Flawless Radiance 4K Hybrid Powder
If you’re looking for a setting powder that won’t leave you looking cakey, I cannot say enough good things about Bellame’s Flawless Radiance 4K Hybrid Powder. It’s infinitely milled to create a weightless, soft-focus finish. Plus, it combines the benefits of both setting and finishing powder in one effortless formula.
This powder is perfect for all skin types — whether you’re oily, dry, or somewhere in between. It controls shine without drying out the skin and gives an airbrushed look that lasts all day.
Final Thoughts: When It Comes to Setting Powder, Less Is More
Setting powder can be a game-changer in your makeup routine, as long as you apply it correctly. Keep it light, focus on problem areas, and always tap off the excess before applying. When used properly, it will keep your makeup looking fresh and flawless without the risk of a cakey finish.
For more beauty tips and insider secrets, be sure to check out my other Beauty Resources Here, and if you’re ready to upgrade your setting powder game, shop Bellame’s Flawless Radiance 4K Hybrid Powder today!

