The Power of Contouring: Enhance, Define, and Elevate Your Features
Have you ever wondered how professional makeup artist get those beautifully sculpted cheekbones or that perfectly snatched jawline? Their secret is not solely in the formulas, it’s because they know how to contour at a high level.
Learning to contour like a pro is one of the most valuable skills you can implement to enhance all your natural features and add definition. If you do it wrong though, it can look harsh and outright weird. We don’t want that! So let me give you my step by step guide to leave you feeling more confident to contour than ever before.
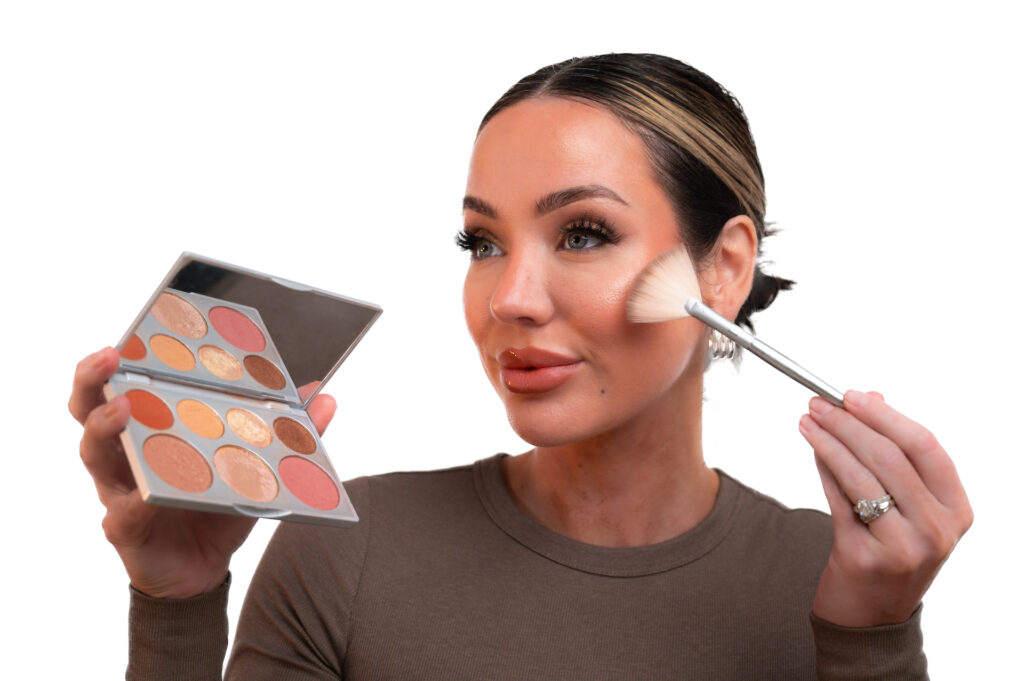
Selecting the Right Contour Products
How to use Cream and Powder Effectively
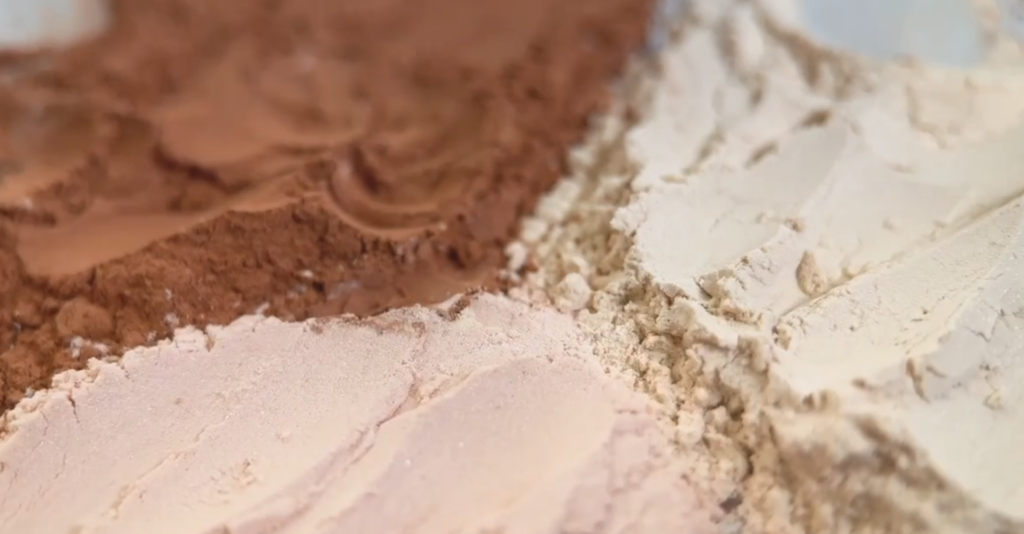
- Cream vs. Powder Contour: When to use each for the best results.
- Cream and liquid give the most natural finish and allows you to control placement better.
- Setting the cream or liquid with a powder will make it last longer. I recommend to stick powder with bronzing and you can mix it in with your contour to give it a 3 dimensional sculpting.
- Selecting the Right Shade:
- Cool vs. warm undertones
- Cool Undertones: Your skin has pink, red, or bluish hues.
- Warm Undertones: Your skin leans toward golden, peach, or yellow tones.
- Neutral Undertones: If you see a mix of both warm and cool tones in your skin, you have a neutral undertone and can usually wear both cool and warm shades.
- Cool vs. warm undertones
-
- For a more natural look, select a shade that is 1 to 2 shades darker than your foundation.
- You always want to choose a cooler tone in your formula because its hue is closest to that of a natural shadow which is exactly what we want.
- For a more natural look, select a shade that is 1 to 2 shades darker than your foundation.
Must-Have Brushes & Tools for a Flawless Blend
Now let’s discuss tools because selecting the perfect tools can make or break how seamless your contour blends.
- Angled brushes work really well for precise application along your cheekbones and jawline. This will give you natural looking sculpt.
- If you prefer a softer finish, a damp beauty sponge is perfect for blending cream contour into your foundation.
- Fluffy blending brushes work best for setting powder contour, ensuring there are no harsh lines.
Pro tip: Use a smaller angled brush for nose contouring. This allows you to maintain precision without over blending.
Step by Step Contouring Techniques
Mapping Out Your Contour: Where to Apply for Your Face Shape
Contouring correctly has everything to do with knowing where to place your products to enhance your face shape all while keeping it balanced.
- Forehead – Apply contour near your hairline to create the illusion of a shorter or more balanced forehead. But make sure to stamp the product back into the hairline for an optimal blend where it doesn’t leave a harsh white line between product and scalp.
- Cheekbones – Place contour roughly 2 inches in length right on your cheekbones. Yup, I know what you’re thinking: there are a lot of influencers that tell you to place the line directly under your cheek bone but no matter what size brush you use the surface area of that brush will drag the contour lower ultimately dragging your entire face down. Take your brush and begin to gently stamp the contour shade up and towards the temple blending it into the hairline. I promise this will lift and define your face giving the illusion of a perky facelift without any needles.
- Jawline – Apply along the jaw to sharpen and add definition, blending downward for a natural fade.
- Nose – Lightly contour the sides of your nose for a slimmer, more refined appearance.
Pro Tip: If you’re not sure where to place contour, tilt your head down in front of a mirror. The natural shadows on your face will show you exactly where your contour should go!
Contouring for Different Face Shapes
Not all faces are the same, which means your contouring technique should complement your natural bone structure.
- Round Face – Focus on contouring a straight line 2 inches on the sides of the face right on the cheekbones to create the illusion of a more sculpted shape.
- Square Face – Soften strong angles by contouring the jawline and forehead and rounding out your contour lines under the cheekbones.
- Oval Face – Lightly define the cheekbones and jawline for balance.
- Heart-Shaped Face – Focus on contouring the forehead and chin to bring more harmony to your features.
How to Blend Like a Pro Without Harsh Lines
- The Tap & Buff Method: Instead of dragging product across the face, use small tapping motions to blend contour naturally into the skin.
- Use Setting Spray While Blending: Lightly mist your brush or sponge with setting spray to help melt the contour into your foundation for a flawless finish.
- Layer Your Contour for a Natural Gradient: Instead of applying a dark, harsh stripe, start with a light hand and build gradually for a seamless transition.
- Avoid Common Mistakes:
-
- Over-blending – If you blend too much, you’ll lose all definition.
- Not blending enough – Harsh lines will make contour look obvious and unnatural.
- Using too much product – Less is more!
Highlighting & Brightening: The Perfect Finishing Touch
Contouring alone won’t give you that perfectly sculpted look because it’s all about contrast. Highlighting with a high quality concealer brightens the high points of your face and makes your contour stand out even more.
Where to Apply Highlighter for Maximum Glow:
- Cheekbones – Right above your contour to create dimension.
- Bridge & Tip of the Nose – Adds lift and structure.
- Cupid’s Bow – Enhances the lips for a fuller look.
- Brow Bone & Inner Eye Corner – Brightens and lifts the eyes.
Matte vs. Shimmer Highlighter: When to Use Each
- Matte Highlighter – Best for a soft, natural lift without shimmer.
- Shimmer Highlighter – Ideal for radiant, glowing skin (but avoid using too much on textured areas).
Time to Elevate Your Look with Effortless Contouring
When done right, contouring enhances your natural beauty, sculpts your features, and creates a flawless, lifted look without appearing overdone. The key takeaway? Blending is EVERYTHING. Start light, build gradually, and blend seamlessly for a sculpted look that flatters your face shape. Ready to take your contour game to the next level?
P.s. If you enjoy learning about makeup from me, be sure to check out my beauty blog and resources here.